For Second Life sculptors, handling large-scale sculptures can be a hassle because objects cannot link together when too far apart. You might see the error "Link failed - Unable to link any pieces - pieces are too far apart". The Simple Anchor system solves this problem and allows for easy adjustments in positioning, rotation, and scaling of both individual objects and linksets as if they were linked together. Here's how you can use the Simple Anchor effectively for your sculpture projects.
Design Your Sculpture
Start by envisioning the design of your sculpture. Consider the overall appearance, dimensions, and how it might be segmented into multiple objects if needed, keeping in mind that linksets are supported by the Simple Anchor system.

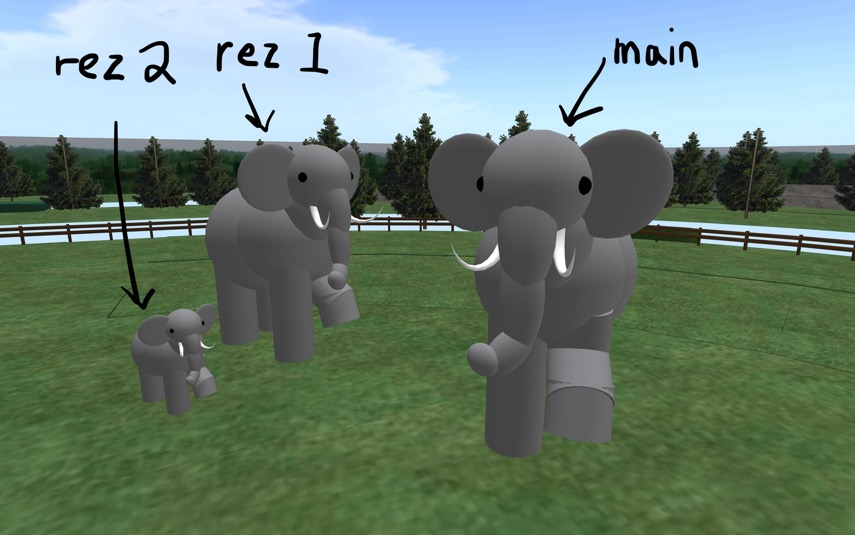
In this example, we have three elephants sculptures - main, rez 1, and rez 2. Imagine we want to group the three elephants together into one sculpture for an exhibition. You can link elephants together, but this limits your ability to adjust each one’s size independently, as you would with separate objects. Unlinking an elephant from a linkset also requires selecting all of its links, which can be cumbersome in sculptures with many parts.
The Simple Anchor system allows you to group objects together without the complications of linking them together. Let's go through the process of preparing this sculpture step-by-step.
Prepare Your Sculpture
- Segment If Necessary: One good way to segment your sculpture is to consider the linkability rules. Large linksets with prim distances almost over the linkable distance will "collapse" when they are scaled up, so you should always divide those linksets into separate objects. In this example, each elephant is a separate object, which allows them to be farther apart from one another than what linkability rules allow.
- Load the Simple Anchor Child Scripts: Make sure the Simple Anchor Child script has permissions set to "no transfer" in your inventory, then drag the script into each object of your sculpture. For our elephants, the script should be placed in elephants rez 1 and rez 2.
Configure the Simple Anchor Rez Box
- Load the Simple Anchor Parent Script: Activate the object that would become the rez box by instructions in the 'Tips for Builders' notecard. Make sure the Simple Anchor Parent script has permissions set to "no transfer" in your inventory, then drag the script into the object. For this sculpture, the 'main' elephant will be the rez box for the other two elephants, so the parent script will be put there.
- Setup the Rez Box: With the setup script, configure the auto-scaling feature. This setup is
crucial as it ensures the rest of your sculpture will scale uniformly with changes in the scale of the rez
box. In additon, the "Auto Delete" and "Auto Rez" features will make your
sculpture behave as one object by rezzing and derezzing elephants at the same time.

- Load the Sculpture into the Rez Box: Place all components of your sculpture into the rez box’s inventory. In this example, drag elephants rez 1 and rez 2 into the 'main' elephant's inventory. Remember to "Save" the positions first by following the instructions 'Tips for Builders' notecard.
Positioning and Scaling
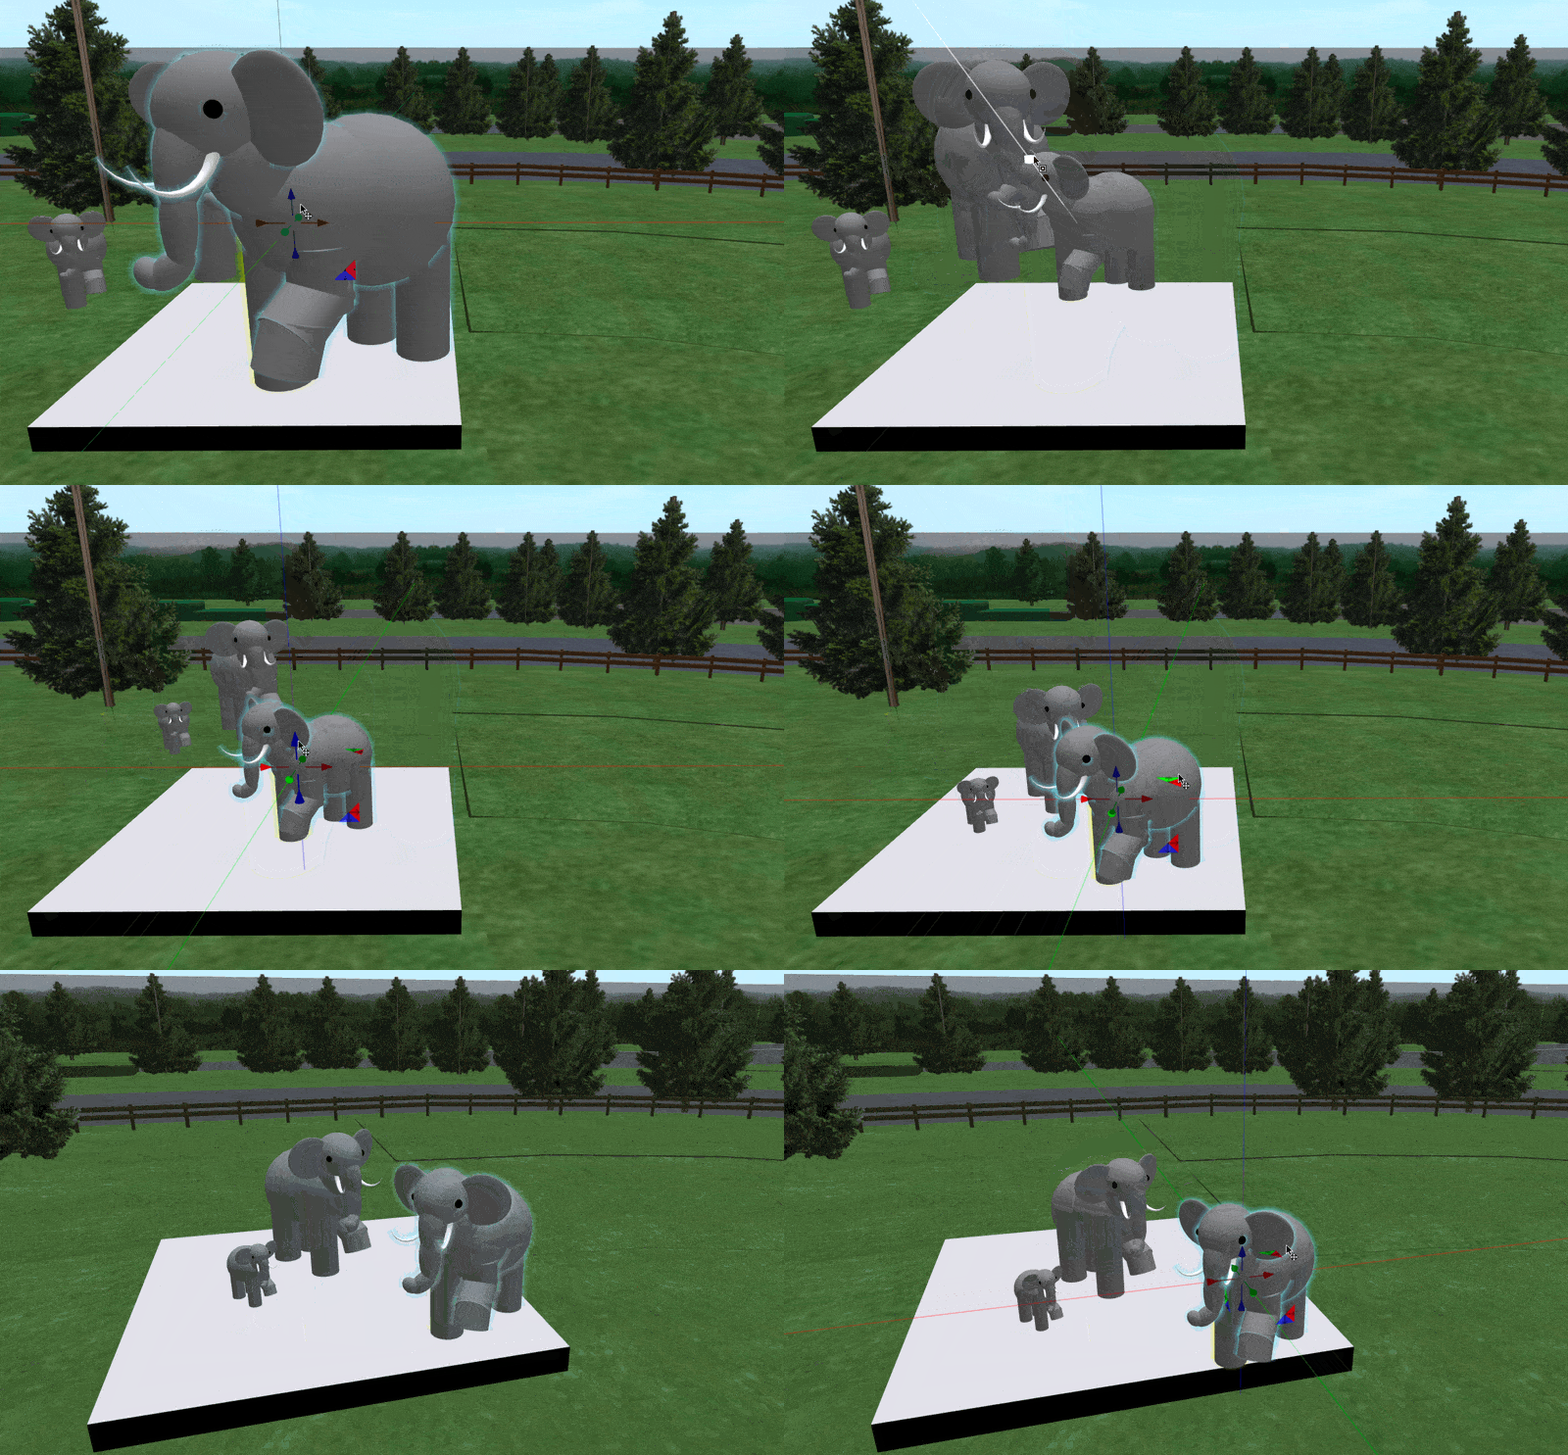
- Rez and Position Your Sculpture: Use the rez box to place your sculpture at the desired location.
- Adjust as Needed: Once the sculpture is in place, you may need to refine the positioning or
orientation. Since the rez box centrally controls these adjustments, it ensures that changes are uniformly
applied to all parts or linksets.

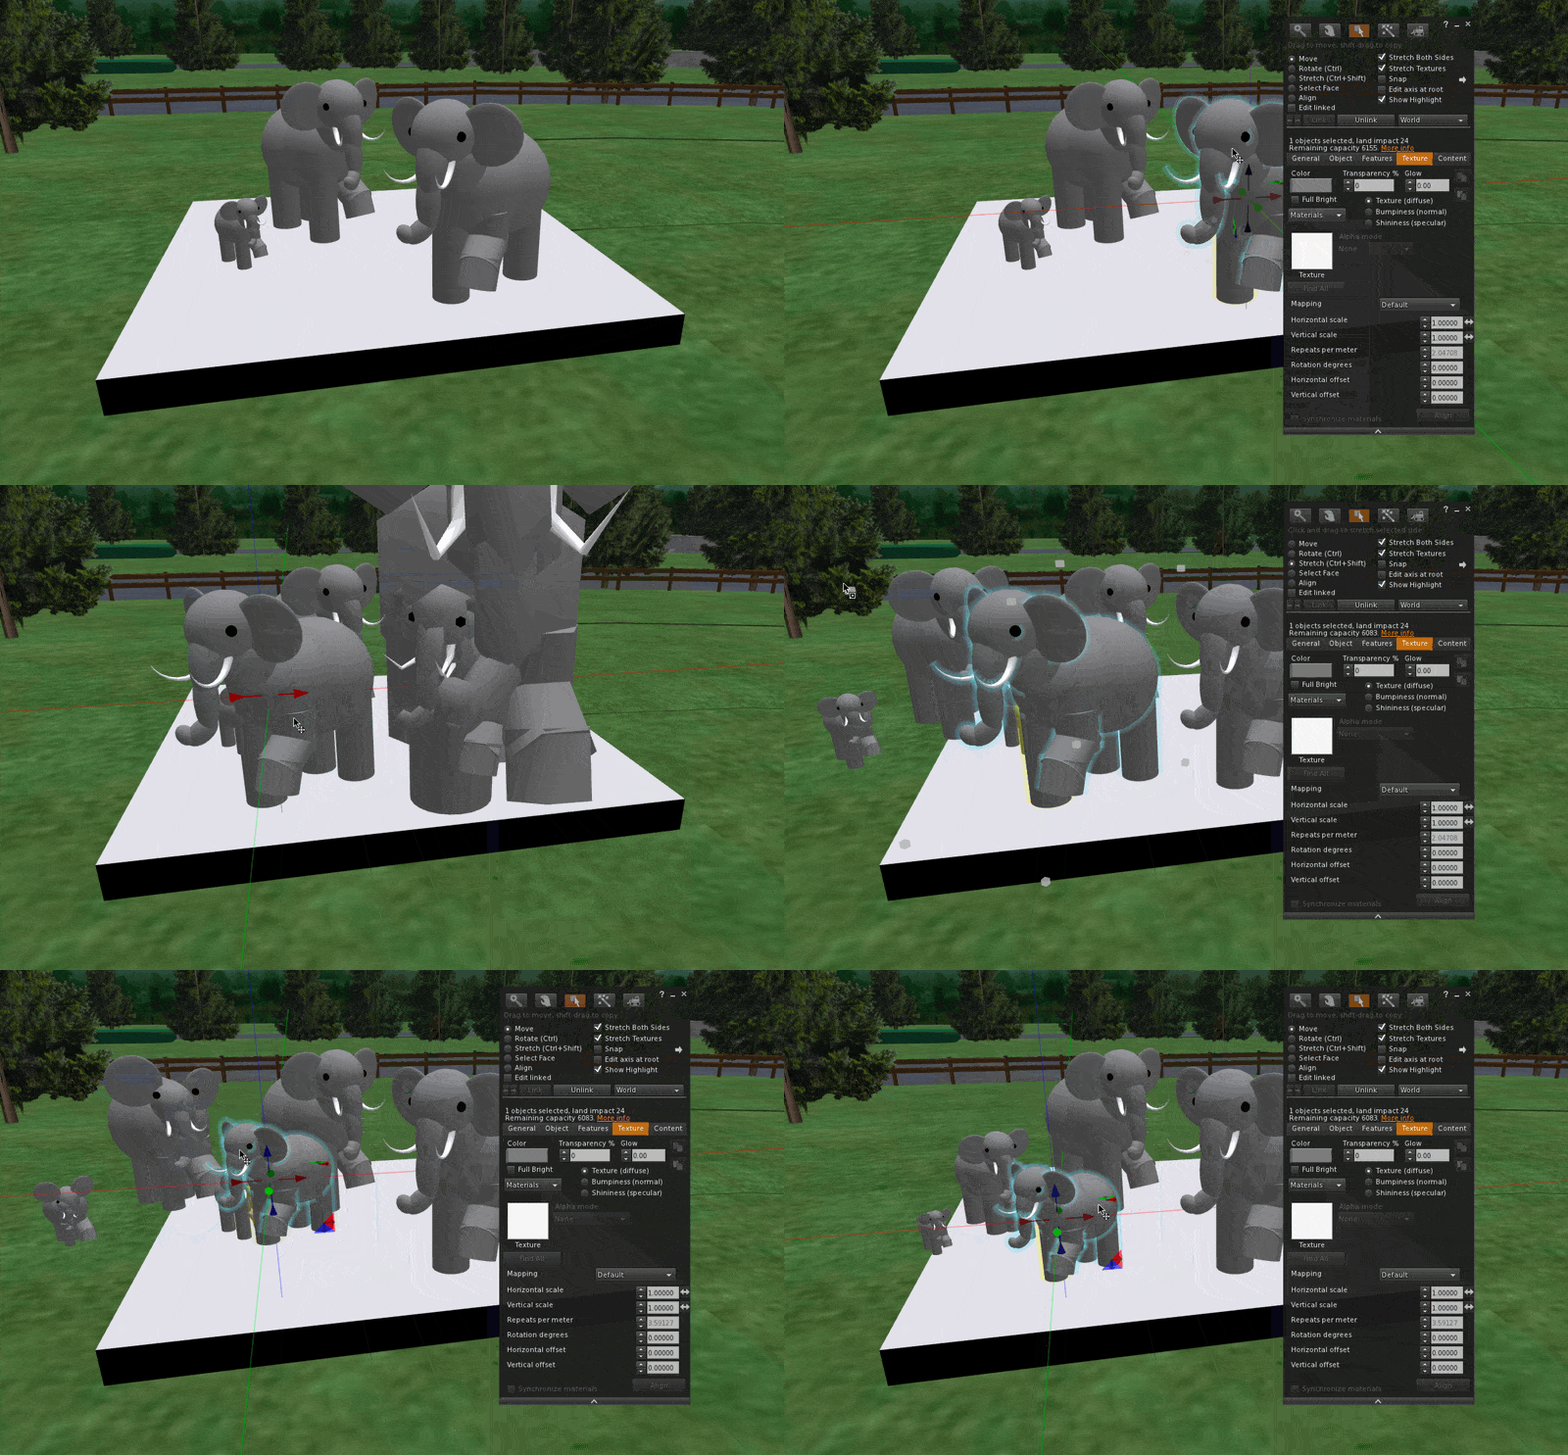
- Easy Duplication: Duplicating your sculpture has never been as easy as with the Simple Anchor system. Not only can you duplicate the entire sculpture just by duplicating the rez box, the new copy will maintain the scale too. This is useful for sculptures with repeated elements.

Final Adjustments
- Inspect Your Sculpture: Review your sculpture from various angles to ensure everything is aligned perfectly and appears as intended.
- Make Necessary Tweaks: If any part of the sculpture needs further adjustment, use the rez box to make these changes efficiently.
Benefits for Sculptors
Utilizing a rez box with auto-scaling capabilities greatly simplifies the logistical challenges associated with creating large sculptures in Second Life. This tool not only aids in the convenient placement and scaling of artworks but also supports the inclusion of both individual objects and linksets, offering great flexibility. Sculptors can focus more on the artistic aspect of their work without being bogged down by technical constraints, allowing for more dynamic and innovative sculptures that can be easily adapted to different spaces or exhibition requirements.
This method empowers sculptors to handle complex sculptures with ease, enhancing both the creative process and the presentation of virtual art.

